Step III
Step II

Bulk Rise, then Shape & Proof

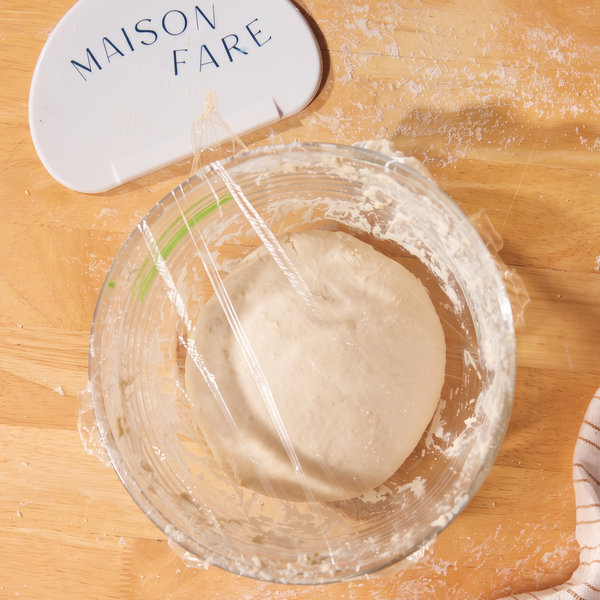
Now the dough will undergo its first and longest rise, called the bulk fermentation (4 - 8h*). Then, it will take 5–10 minutes to shape the dough into a boule, followed by a second rise, called the proof (2 - 3 1/2h*).

Once the dough has finished bulk fermentation, shaping, and proofing, it's time to bake.

*Time will vary based on temperature. Estimates are provided below the next section.

Measuring 1.5l of water into the rising container
01
01
/
03
01 / 03
Before We Begin

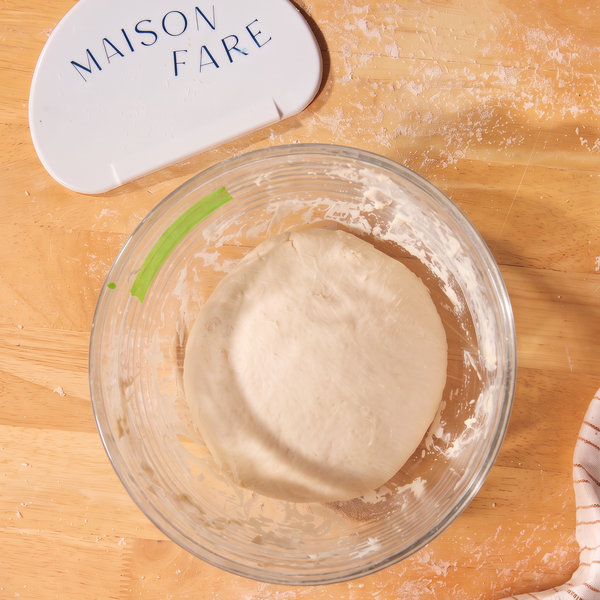
Measure 1.5L (6 ¼ cups / 50oz) of water into your rising container. Mark the top of water (ex: with tape or a wax pencil) and then discard the water. This marker indicates where the dough should rise prior to baking.

Lightly grease the container with a thin layer of neutral oil or butter to reduce sticking. If you don’t have any on hand, it's okay to proceed without doing this.

Scroll

First Rise

Bulk Fermentation

During bulk fermentation, yeast and bacteria feed on the fresh flour, producing gas and developing flavor along the way. The dough traps this gas as it ferments, allowing it to expand and eventually rise in the oven.Your rise times will vary greatly depending on room temperature, dough strength, and starter activity. Below are rough estimates to help you plan:
‍
‍
70°F = 7-8 hours
‍78°F = 5-7 hours
‍85°F = 4-6 hours

Note: The time starts from when the ingredients were first combined with the levain. If you're not sure how long ago that was, assume 30 minutes to mix and knead.
‍
Use the estimates above as a guide for when to start checking your dough. You're looking to see if it's hit the marked level, along with a dough that looks puffy and airy, with some visible bubbles and a slight jiggle. The estimates will get you close, but the dough ultimately tells you when it's ready.

If it hasn't reached the mark, check again every 20–30 minutes. If the dough still hasn't reached it after 8 hours, move to the next step. Fermentation can eventually weaken the dough faster than it can rise, so waiting longer may do more harm than good. If this happens, make a mental note to find a warmer spot next time.

Shaping

Once bulk fermentation is complete, it’s time to shape the dough. Shaping creates tension so the loaf can hold its form during the final proof and rise upward in the oven instead of spreading outward.

This is also a great moment to slow down and enjoy the feel of the dough in your hands.

01
01
/
06
01 / 06
Transfer Dough to Counter

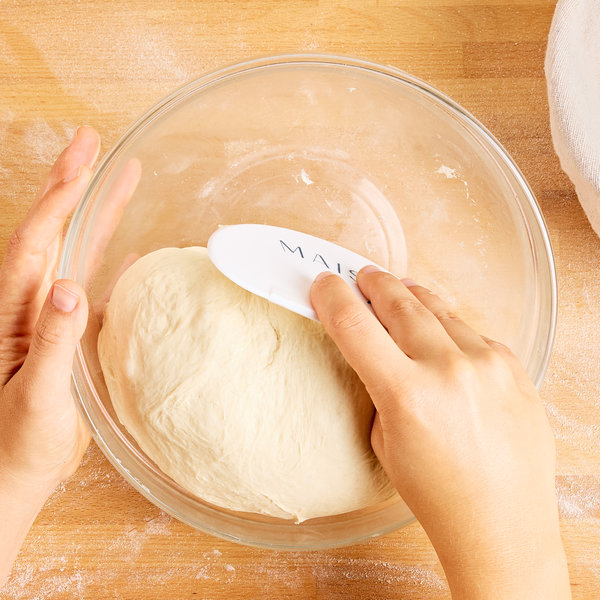
Using your plastic dough scraper, gently remove the dough from its rising container onto a clean 3×3ft work surface. Do your best to avoid deflating or tearing the dough as you do this.

Your dough should feel airy and might have a slight sour smell at this stage.

Scroll

Second Rise

Proof

Proof in the Fridge

The second rise (proof) allows the fermentation process to finish while ensuring the final loaf will be in the desired shape.

Put the basket back in the warm spot you used for bulk fermentation.

With our approach, proofing typically takes about half of your bulk fermentation time, or slightly less. Use that as a timing estimate, then use the poke test below to decide when your loaf is ready to bake.

Start preheating your oven to 450°F (425°F for convection) 30 minutes before the estimated proofing time. Your dutch oven, with the lid on, should pre-heat inside the oven.

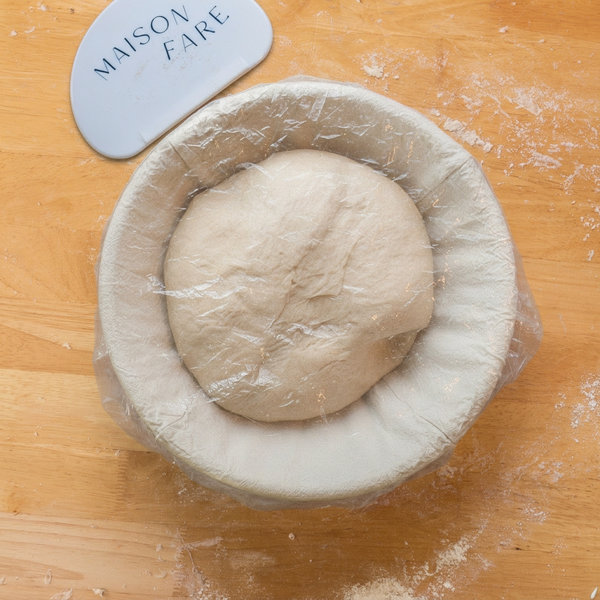
Place your covered banneton straight into the refrigerator, ideally toward the back of the bottom shelf where temperatures tend to be coldest. This cold proof, also called a cold retard*, slows fermentation and gives the dough more time to develop deeper, more complex flavor than a same-day bake. Cold dough is also firmer and easier to score cleanly, while giving you a wider window for when to bake**.

Plan to bake the next day, or by the third day at the latest. The longer the cold proof, the more flavorful the bread will become overall, but it will also become more sour. Leave it too long and excess acidity can weaken the dough.

You may be familiar with the poke test for checking whether dough is ready to bake. It doesn’t work reliably on cold dough, and there isn’t a replacement test here. Trust the process, bake within the recommended window, and let the oven surprise you with how beautifully the loaf can spring back to life even after spending so long in the fridge.

About 30 minutes before you plan to bake, preheat your oven to 450°F (425°F convection) with the Dutch oven and lid inside. You can leave the dough in the fridge until the oven is ready.

‍*In baking, the word “retard” is used as a verb meaning to slow down or delay fermentation.
**It might seem logical that if the fridge is good, the freezer is even better, but that’s not the case. Freezing forms ice crystals that damage the gluten network and yeast cells, compromising the loaf’s structure and rise.

Video loading . . .

Poke Test

Artisan bakers can use the "poke test" to determine readiness. Poke the dough about 1/2in deep with a floured finger. After you remove your finger:
‍
If the indent slowly springs back or doesn’t recover at all, the loaf is ready to go in the oven.
‍
If it springs back right away, give it more time, but no more than 3 hours total.
‍
Lost track of time? Baking an hour or two early or late will still result in a delicious loaf, but it may not rise as well and the crumb may come out more dense.