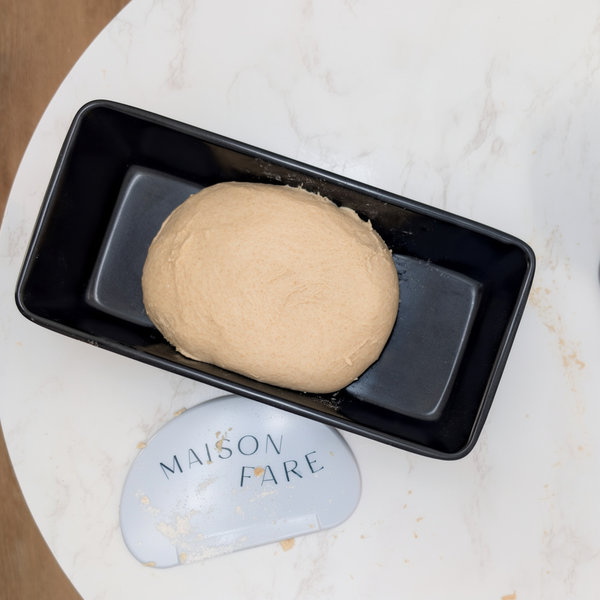
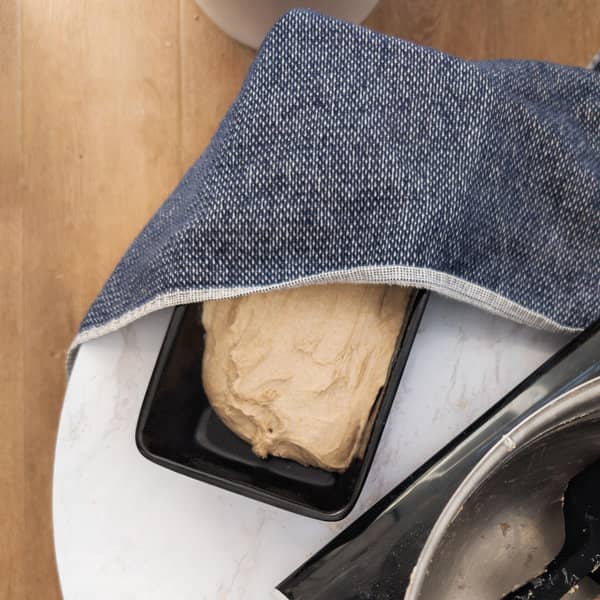
Cover and let rise
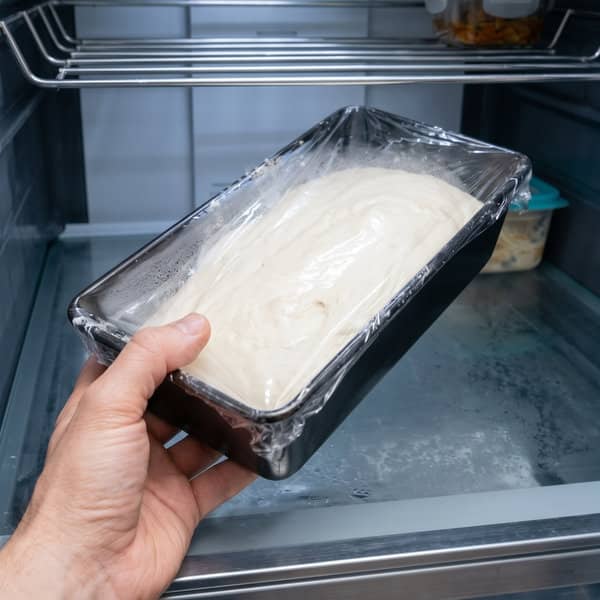
Refrigerate (Cold Proof)
Cover your pan with a damp towel or plastic wrap to prevent the dough from drying. Put the pan in a warm spot in your home and wait for the dough to reach the level marked earlier. Use our estimates below as a guide for when to start checking, based on the dough temperature (or ambient temperature, if you don't have an instant read thermometer):
70°F = 10–11½ hours
78°F = 7½–10 hours
85°F = 6–8½ hours
Once you're near the estimated time, look for the dough to reach the marked level and appear puffy and airy, with some visible bubbles and a slight jiggle. Our estimates aim to get you close, but the dough ultimately tells you when it's ready.
If it hasn't reached the mark, check again every 20–30 minutes. If the dough still hasn't reached it after 12 hours, move on and bake. Fermentation can eventually weaken the dough faster than it can rise, so waiting longer may do more harm than good. If this happens, try a warmer spot next time.
Move the pan straight to the refrigerator for its cold proof, also called a cold retard*. Slowing fermentation gives the dough more time to develop deeper, more complex flavor than a same-day bake, while also giving you a wider window for when to bake**.
Plan to bake the next day, or by the third day at the latest. The longer the cold proof, the more flavorful the bread will become overall, but it will also become more sour. Leave it too long and excess acidity can weaken the dough.
About 30 minutes before you plan to bake, preheat your oven as directed in the next step. There’s no need to take the dough out of the refrigerator early.
*In baking, the word “retard” is used as a verb meaning to slow down or delay fermentation.
**It might seem logical that if the fridge is good, the freezer is even better, but that’s not the case. Freezing forms ice crystals that damage the gluten network and yeast cells, compromising the loaf’s structure and rise.